First of all create a project in google console named your app.
- Go to https://console.cloud.google.com.
- Create a project.
If you already have one, just open the console with that project.
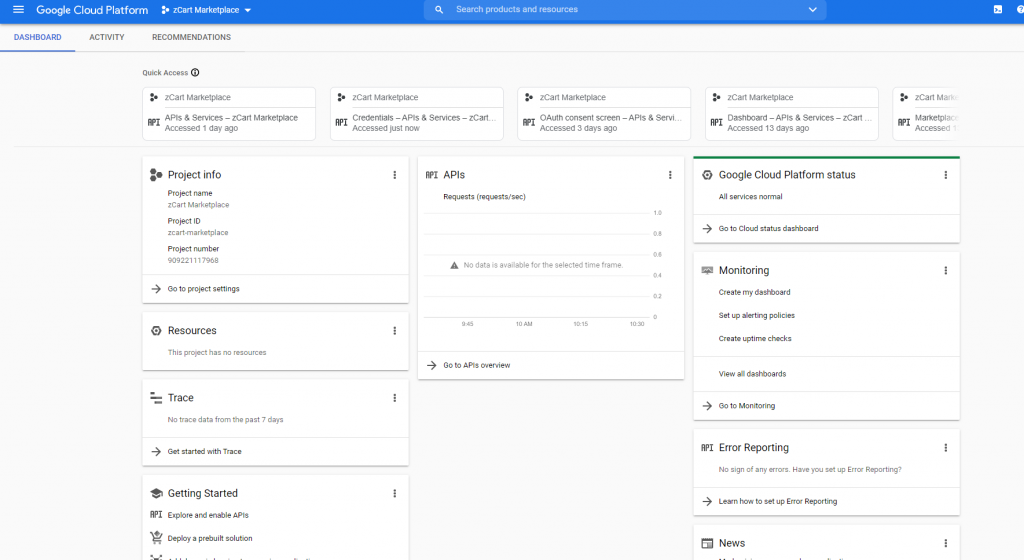
- When your project is created, you will see your dashboard like this.
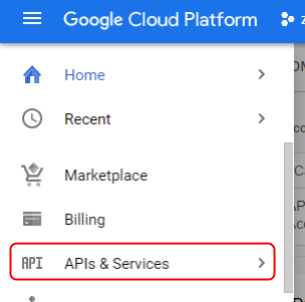
- Tap to the menu button in the left corner and a menu drawer will be opened. Select APIs & Services. A new page will open.
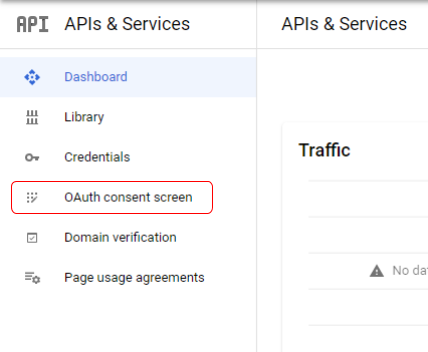
- Click the OAuth consent screen. It will take you a new page and this button will be selected.
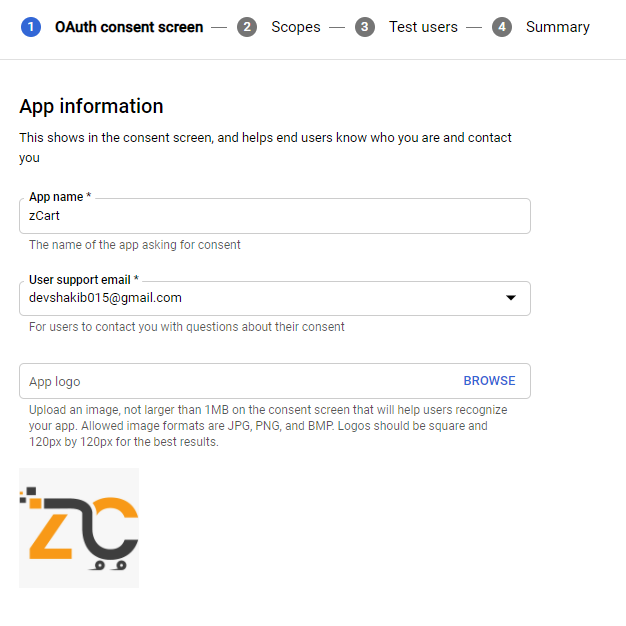
- Insert the required information and finish all the steps to create an app.
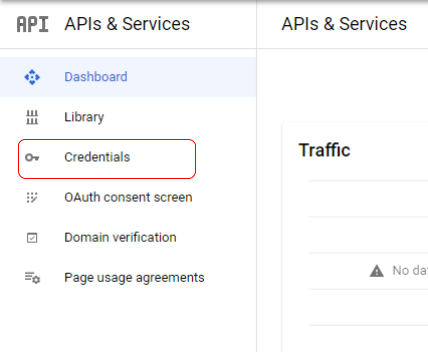
- After creating your app, Go to credentials from the menu bar.
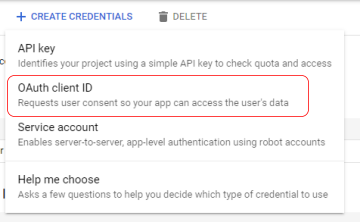
- Select OAuth Client ID
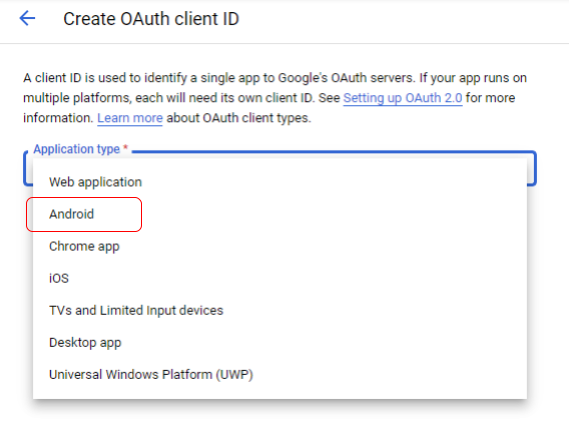
- Select Android as an application type.
- Fill the required information.
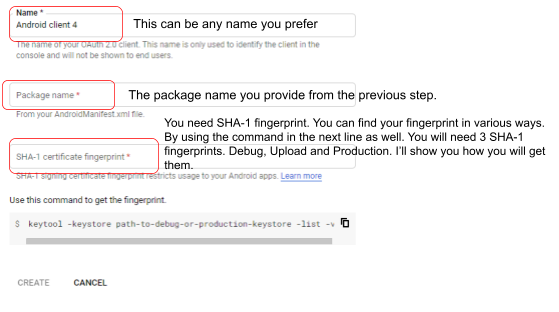 For 3 fingerprints you need to create 3 OAuth client id.
So for the first one, let’s find out your debug fingerprint.
Generate SHA-1 for Flutter/React-Native/Android-Native app from this link, You will find a lot of ways to find the debug SHA-1 fingerprint. With this debug fingerprint, you can test your app in the debug mode after creating the OAuth client id with debug SHA-1.
The other 2 fingerprints you will get after uploading the app in the google play store. Use them to create 2 more OAuth client id, then the google login will work in the production mode.
Login with google setup for you android app is done!