Go Live
It’s time to go live. Let’s turn OFF the MAINTENANCE MODE and confirm.
SETTINGS SYSTEM SETTINGS
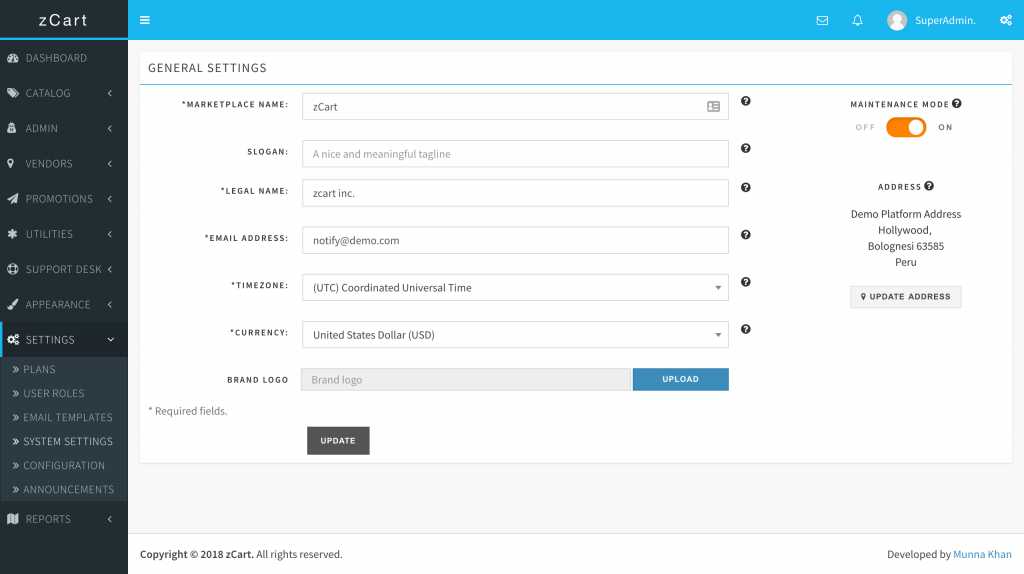
Your marketplace is LIVE now!!!
It’s time to go live. Let’s turn OFF the MAINTENANCE MODE and confirm.
SETTINGS SYSTEM SETTINGS
Your marketplace is LIVE now!!!