How To Manage Images
An eCommerce marketplace needs to load hundreds of images in a single page view that can slow down the page load. To solve this issue zCart has a wonderful library to manage images to boost the loading time of your marketplace.
There’re some pre-defined image sizes that will be used for different sections on the marketplace frontend. The system will create thumbnails using these settings only. You can adjust these sizes and also can set how the system will process the final thumbnails. The configurations can be found in the config/images.php file.
In the configuration file find the sizes section and update your desired values.
    'sizes' => [
        /*
        |--------------------------------------------------------------------------
        | Primary sizes
        |--------------------------------------------------------------------------
        |
        | The system will create thumbnails using these settings only.
        | Any request for other than this sizes will return the original image.
        | Sets how the image is fitted to its target dimensions.
        |
        | w = width, h = height. All values are in pixels
        |
        | fit = how the image is fitted to its target dimensions,
        | Available values "contain,max,fill,stretch,crop"
        |
        | Don't modify this values if you are not sure
        |
        */
        'small' => [
            'w' => 100,
            'h' => 200,
            'fit' => 'contain'
        ],
        'medium' => [
            'w' => 250,
            'h' => 400,
            'fit' => 'contain'
        ],
        'large' => [
            'w' => 800,
            'h' => 1200,
            'fit' => 'contain'
        ],
Every size have three values, here w is the width and h is the height of the thumbnail. The fit is the value that tells how the thumbnail will be deliver, accepted valus are contain, max, fill, stretch, and crop.
Fit:
- contain: Default. Resizes the image to fit within the width and height boundaries without cropping, distorting or altering the aspect ratio.
- max: Resizes the image to fit within the width and height boundaries without cropping, distorting or altering the aspect ratio, and will also not increase the size of the image if it is smaller than the output size.
- fill: Resizes the image to fit within the width and height boundaries without cropping or distorting the image, and the remaining space is filled with the background color. The resulting image will match the constraining dimensions.
- stretch: Stretches the image to fit the constraining dimensions exactly. The resulting image will fill the dimensions, and will not maintain the aspect ratio of the input image.
- crop: Resizes the image to fill the width and height boundaries and crops any excess image data. The resulting image will match the width and height constraints without distorting the image. See the crop page for more information.
src="https://zcart.test/image/images/sqSicb6DWA.png?p=medium", check the end of the url. The p=medium means it geting the medium size thumbnail of that image.
Solve different sizes issues
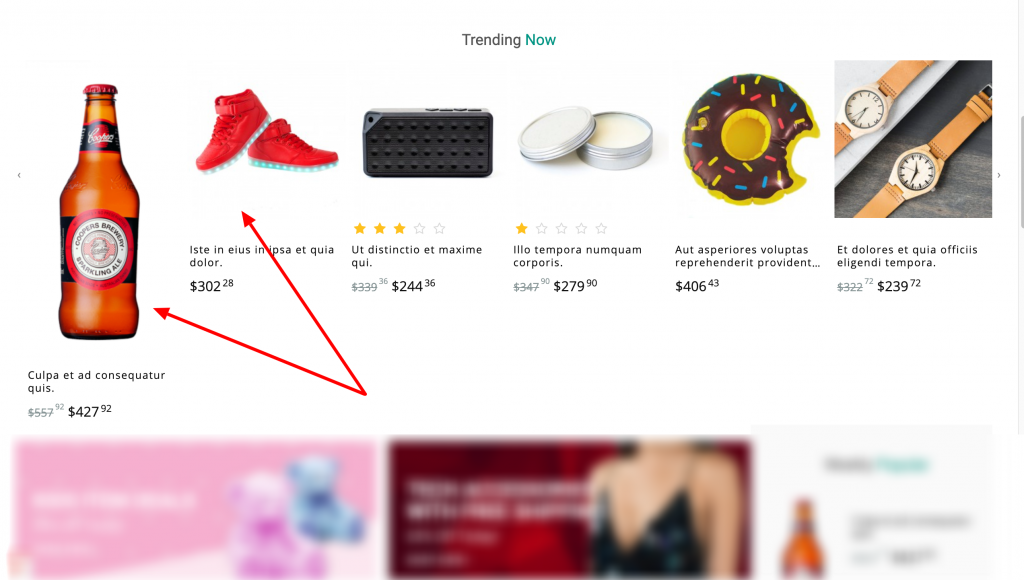
If you set fit = contain in your configuration file, then the system will use the h and w value of the original image to generate the terget sized thumbnail this can lead to issues like the below.

Though we recommend to use contain as your images constraint rules and manage to upload the same sized images. But if you can not control the upload image size then try the other fit options that make you happy.
Apply changes on already uploaded images:
The new changes will be applicable for future uploads only. If you want to apply the updated configuration rules to already uploaded images, login into superadmin account and type this url www.yourdomain.com/admin/incevio/clear/all on your browser.